Most of the work in a paint job that still looks right in five years happens before any finish coat: degreasing the walls around the switches and the range, sanding gloss and ridges flat, cutting out cracked tape, filling nail holes, caulking the trim joints and spot-priming every repair so it does not flash through the color.
Houston makes that prep harder than it is in a dry climate. Humidity stretches recoat windows, so a coat that feels dry is not necessarily ready. Expansive clay soil moves slab foundations through the seasons, which is what opens the corner cracks above door and window headers. And most walls in the area carry sprayed texture, so a smooth patch under a rolled coat reads as a flat spot from across the room unless it is textured to match first. Anything past normal patching moves into our drywall work.
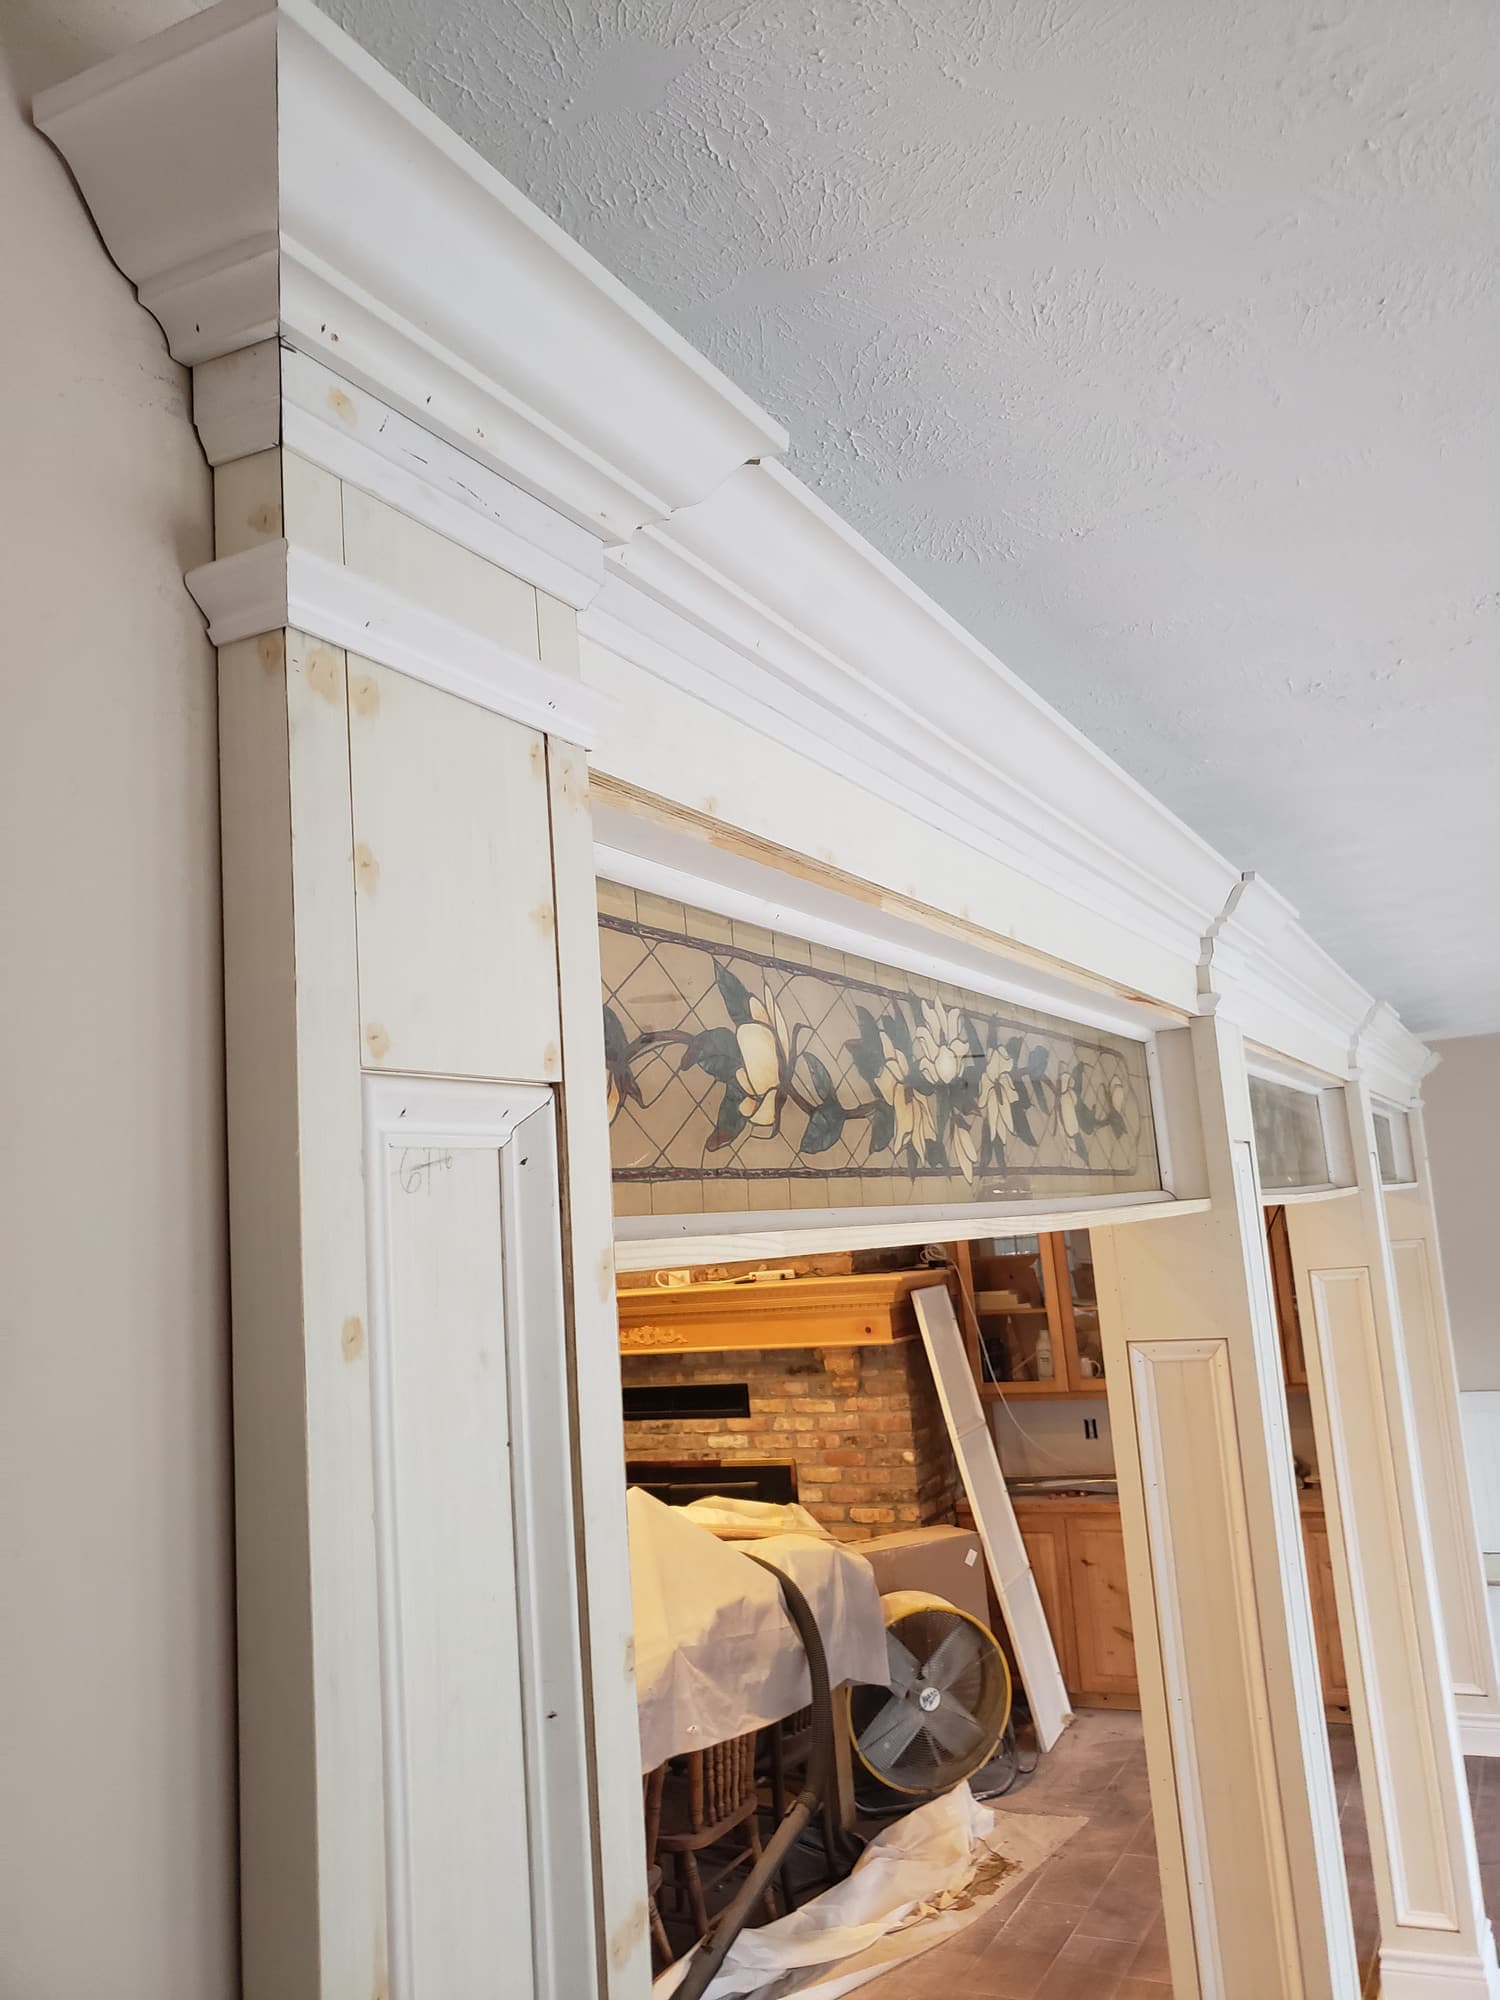
Crown, casing and base primed and staged before installation. Prefinishing trim off the wall gives a better film than brushing it in place and leaves only caulk lines and nail holes to touch up afterward.
A working sheen guide. Higher sheen is more washable and less forgiving of a wall that is not flat.
Surface
Sheen
Why
Ceilings
Dead flat
Hides roller lap, framing shadows and texture variation
Bedrooms and living areas
Eggshell
Wipes clean, low enough sheen to hide wall imperfections
Hallways, stairs, kids' rooms
Satin
Takes scrubbing, but shows more of the surface underneath
Baths, laundry, kitchen walls
Mildew-resistant satin
Handles condensation and repeated cleaning
Trim, doors, cabinets
Satin or semi-gloss enamel
Harder film, cleans up, separates trim from the wall
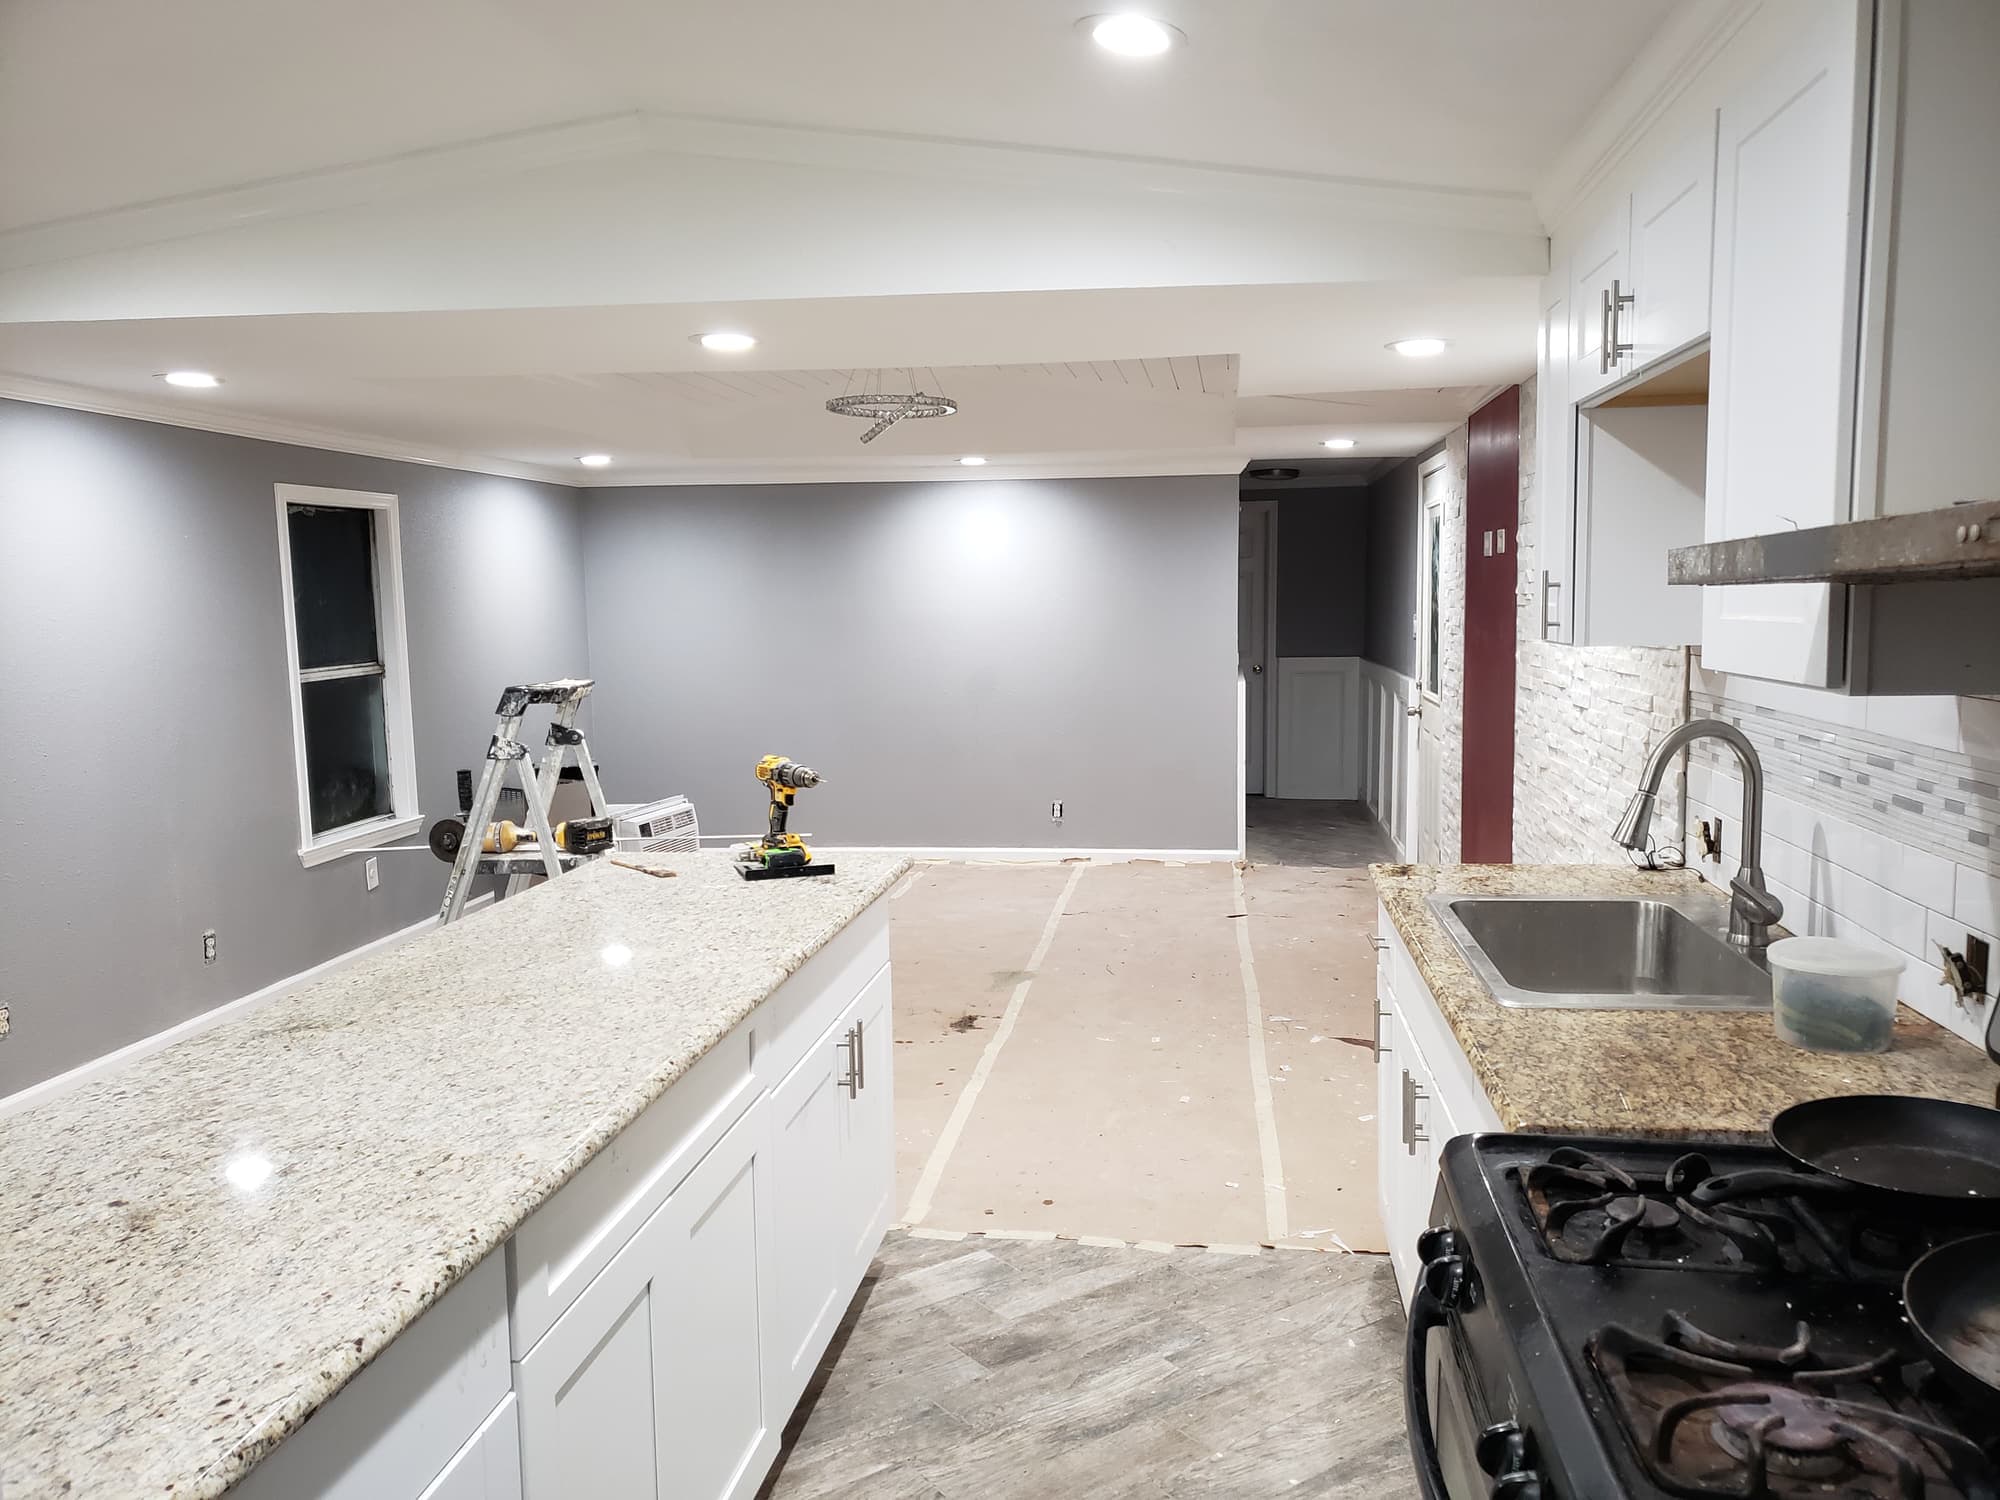
We paint whole interiors, single rooms, ceilings, trim and doors, wainscot and built-ins, and kitchen cabinets, and we do the painting that closes out remodeling work. Sequence matters: ceilings and walls first, flooring installation next, then base and casing set and finished, so roller spatter and sanding dust never land on a new floor. On a whole-home remodeling job the painting is scheduled around the trim carpentry rather than squeezed in at the end.
What the job includes
Scope, in the order it happens
01
Cleaning, sanding and de-glossing
Kitchen and bath walls get degreased before anything else, because paint will not bond to cooking film or the hand oils around switch plates. Failed or peeling paint is scraped back to a sound edge and feathered, gloss trim is sanded dull, and drywall ridges and roller lint left by the last paint job are sanded flat.
02
Crack, hole and nail-pop repair
Nail pops are reset or screwed off and coated, dented corner bead is filled or replaced, and cracked tape is cut out and rebedded instead of skimmed over. Deep fills use setting-type joint compound; the finish skim is lightweight compound sanded flat and checked under a raking light. Failed sheets, ceiling damage and larger repairs fall under our drywall work.
03
Texture matching
Patches are sprayed and, where the wall calls for it, knocked down to match the surrounding orange peel or knockdown texture before priming. On a smooth Level 5 wall the patch is skimmed and sanded instead. This step is the difference between a repair you cannot find and one you notice every time afternoon light rakes across the wall.
04
Priming and stain blocking
Every repair is spot-primed so it does not flash. Bare new drywall gets a PVA primer, slick or previously oil-painted trim gets a bonding primer, and water stains, smoke, marker and tannin bleed get a shellac or oil-based stain blocker. A brown water stain will bleed through latex no matter how many coats go on.
05
Walls and ceilings
Two finish coats, brushed at the cut lines and rolled wet edge to wet edge with the nap matched to the texture. Ceilings are painted first, then walls, then trim, so each surface is cut into a finished one. Baths and laundry rooms get a mildew-resistant satin rather than a flat.
06
Trim, doors and cabinet finishing
Doors are pulled and sprayed flat where the job allows, jambs and casing are filled and caulked before enamel, and hardware is bagged and labeled by opening. Cabinet finishing is degrease, sand to dull, bonding primer and two coats of waterborne alkyd enamel, with doors and drawer fronts sprayed off the boxes. Painted beadboard, wainscot and panel base are finished the same way, usually alongside trim carpentry.
07
Protection, containment and closeout
Floors are papered or covered, counters and cabinets filmed, and HVAC returns filtered while sanding so the dust does not tour the house. At the end, plates and hardware go back on,, punch items are corrected on the spot, and leftover paint is labeled by room, product and sheen.
Materials and specification
What it is actually built from
Specifications vary with the house and what we find once it is open. This is the standard we work to unless there is a reason not to — and if there is, we will tell you what it is before we change it.
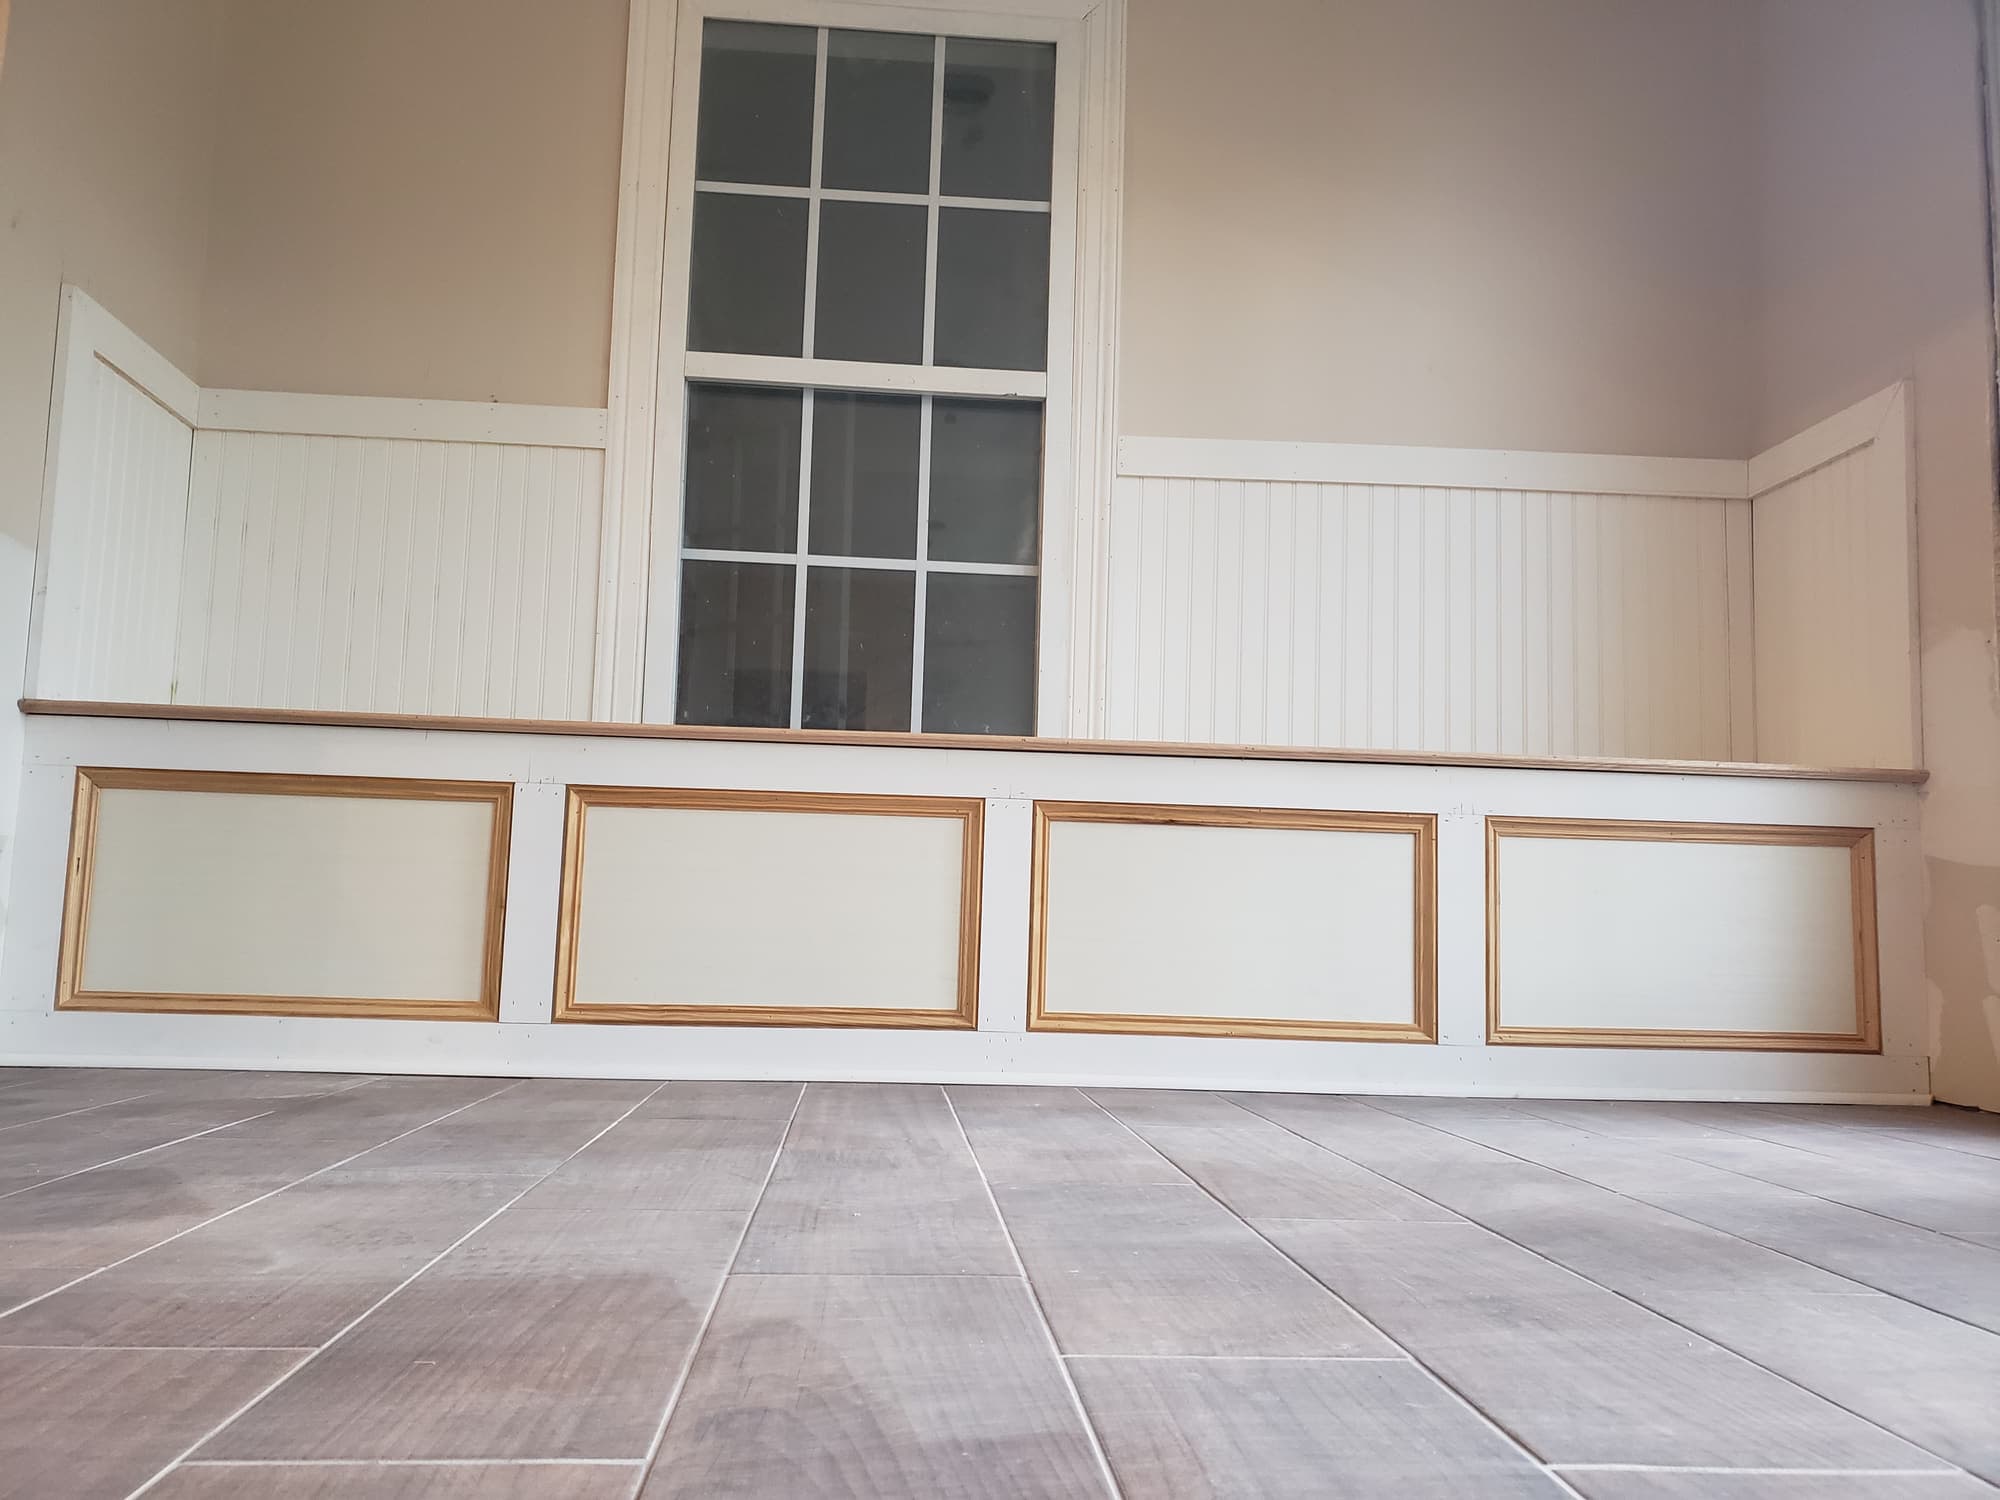
Beadboard wainscoting, chair rail and recessed panel base over wood-look tile.
Wall paint
100% acrylic latex, two finish coats over primed and repaired surfaces; eggshell in bedrooms and living areas, satin in halls, mildew-resistant satin in baths and laundry
Ceiling paint
Dead flat latex ceiling paint, two coats; cut in at the wall line rather than caulked at the ceiling joint, so seasonal movement does not tear a caulk bead
Trim, door and cabinet enamel
Waterborne alkyd enamel in satin or semi-gloss; harder cure and far less blocking on doors and jambs than a standard wall latex
Primers
PVA on bare new drywall; shellac or oil-based stain blocker over water stains, smoke and tannin bleed; bonding primer on gloss, laminate and previously oil-painted trim; tinted primer under deep colors
Roller covers
3/8 in. nap on smooth walls, 1/2 in. on orange peel, 3/4 in. on knockdown and acoustic ceilings; too short a nap skips the valleys in the texture and reads thin
Caulk
Paintable siliconized acrylic latex at trim-to-wall, casing and panel joints. Pure silicone will not accept paint and is never used on interior trim
Patching compound
Setting-type joint compound in 20, 45 or 90 minute set for deep fills and rebedded tape; lightweight all-purpose compound for skim and finish coats
Texture
Orange peel, splatter-knockdown or smooth Level 5, sprayed to match the existing wall and left to dry fully before primer goes on
Local conditions
What changes because this is Houston
Gulf Coast clay, humidity and a storm season are not background detail. They decide how this work gets built.
Humidity stretches dry and recoat times
Gulf Coast air slows the release of water from a waterborne coating, so the recoat window printed on the can is a minimum, not a schedule. Recoating early softens the film and shows up later as blocking, where a freshly painted door sticks to its jamb and pulls the finish when it opens. Run the air conditioning through the job and after it, and leave new enameled doors unlatched for several days. Enamel keeps hardening for weeks after it is dry to the touch.
Slab movement puts the same cracks back
The expansive clay under most of the region swells in wet months and shrinks in drought, and slab foundations move with it. Drywall gives way at its weakest points: the corners above door and window headers, and the seams where ceilings meet walls. Cutting out the tape and rebedding it holds far better than skimming caulk over the line, but nothing applied to the surface stops the movement underneath, so some seasonal reopening is normal and worth knowing about before the work starts.
Storm season leaves stains that paint alone will not fix
From June through November, roof, flashing and window leaks are a routine cause of ceiling and wall staining here. Correct the source first, then confirm the drywall is actually dry with a moisture meter rather than by touch. Only then does a shellac or oil-based stain blocker go on, followed by finish coats. Painting over damp drywall seals the moisture in and grows mildew behind the film.
Older houses need testing before anyone sands
Homes built before 1978 may have lead-based paint under later coats, and sprayed acoustic ceiling texture from before the early 1980s can contain asbestos. Neither is a reason to avoid painting, but both are a reason to test before sanding or scraping rather than after. Where a test comes back positive, that portion of the work has to be handled with the appropriate lead-safe or abatement practices, and in many cases it is turned over to an outside firm certified for that specific work.
Permits, deed restrictions and HOAs
Repainting the inside of a house does not normally require a permit on its own. Permitting matters when painting is the last step of something larger, such as opening a wall or moving plumbing and electrical, and that work is permitted through the Houston Permitting Center inside city limits, through Harris County in unincorporated areas, and through the separate offices of Fort Bend, Montgomery, Brazoria, Galveston and Waller counties and the incorporated suburbs. Houston has no conventional zoning ordinance, so what governs a property is usually its deed restrictions or HOA covenants, and those typically address exteriors rather than interior color.
How it runs
From the first call to the last walkthrough
1
Walkthrough and free estimate
We measure the rooms, count doors, windows and openings, note ceiling heights, and check the existing sheen and texture, because those set the prep. We also look for what is not a painting problem: water stains, soft drywall, movement cracks, failing caulk at tubs. Then we talk through what stays in the rooms, pets, and whether anyone is working from home, since that changes how the job is staged.
2
Color and sheen selection
We put two-foot sample squares on at least two walls in a room rather than working from a fan deck, and we leave them up so you can look at them in the morning, in the afternoon and at night under your own light fixtures. West-facing rooms take strong late-afternoon light that pushes warm colors further than expected, and south-facing rooms stay bright through the middle of the day. Trim and cabinet whites are chosen against the counters and floors they sit next to, never on their own.
3
Protection and prep
Furniture is moved to the center and covered, floors are papered or covered, and plates, registers and hardware come off and get bagged by room. Then the real work: washing, sanding, scraping, resetting nail pops, rebedding cracked tape, filling, caulking and matching texture on every patch.
4
Prime, then first coat
Spot primer on every repair, stain blocker where it is needed, and full primer on bare drywall or under a drastic color change. After the first finish coat we walk the walls with a light held flat against them, because that is when small defects finally show, and we re-patch and re-prime whatever turns up.
5
Finish coats and enamel
Second coat on ceilings and walls, then trim, doors and casing last so the enamel cuts into finished surfaces. Doors are left off the latch and cabinet doors stay off the boxes until the enamel has hardened enough to handle. Hinges and hardware go back on last.
6
Final walkthrough
We walk the whole job with you under raking light and under normal room lighting, mark the punch list on the spot and correct it during the same visit where possible. Plates, registers and hardware are reinstalled and the site is cleaned before we leave so a later touch-up starts from the right product instead of a guess.
Beadboard wainscoting, chair rail and recessed panel base over wood-look tile.
Crown, casing and base staged and primed before a single nail goes in.
Questions
Interior Painting, answered
How long does it take to paint the inside of a house?
A single bedroom with sound walls is usually a day. A full interior on an average three-bedroom home, including ceilings, walls, trim and doors, generally runs most of a week. Prep is what moves that number: heavy patching, texture matching, cabinet finishing or a dark-to-light color change each add days, and humid weather adds more because every coat needs its full recoat window.
Do I have to move out while the work is going on?
For normal wall, ceiling and trim work, no. The job is staged room by room so you keep a bedroom and a bathroom in use, and today's waterborne products are far lower in odor than the oil-based enamels they replaced. Cabinet spraying is the exception, since the kitchen gets sealed off with plastic and stays out of service for several days while the enamel hardens.
Is one coat enough if I am keeping the same color?
Sometimes, on a clean wall in the same color and sheen with no repairs in it. Any color change, any sheen change, and any area that was patched or primed needs two finish coats to build an even film and bury the repair. Going from a dark color to a light one usually needs a tinted primer plus two coats, and deep reds and blues can need more.
Can you paint my kitchen cabinets instead of replacing them?
Yes, if the boxes are solid and the doors are wood or MDF with a finish that is still bonded. The process is the same one described above: degrease, sand to dull, bonding primer, then sprayed enamel on the doors and drawer fronts off the boxes. Peeling thermofoil, water-swollen sink bases and boxes coming apart at the joints are not worth finishing, and that becomes a kitchen remodeling conversation instead.
Why do the same cracks keep coming back above my doors?
Those are movement cracks, not paint failure. The clay soil under most of the Houston area swells in wet seasons and shrinks in dry ones, the slab moves, and drywall opens at its weakest point, which is the corner above a door or window header. Cutting out the tape and rebedding it lasts considerably longer than filling the line with caulk, but no surface repair stops what the slab is doing underneath, which is why these can reopen after a wet or drought season.
Should painting happen before or after new flooring?
Paint the ceilings and walls first, install the floor, then set and finish the baseboards or touch up the existing base afterward. That order keeps roller spatter, caulk and sanding dust off a new floor, and it lets the trim be scribed and finished against the surface it actually sits on. When we are handling both the flooring installation and the painting, we schedule it that way from the start.
Call and talk to someone who has been doing this for 15+ years. We will look at the space, tell you what the work actually involves, and put a number on it — at no cost.