
Tile cannot go down until the shower pan has held standing water for a full day, and the pan cannot be tested until the pre-slope and the waterproofing have cured. That single dependency explains most of what looks like a stalled bathroom remodeling job. The middle of the schedule is made of cure time and inspection time, not idle time. What follows is the real order of operations, phase by phase, including the places where the calendar stops for reasons no crew can compress.
A bathroom is the densest room in the house
A full bathroom packs supply plumbing, drains, a vent, electrical, mechanical ventilation, waterproofing, tile, cabinetry, glass and paint into a room of a few dozen square feet. Most of those trades come twice, once to rough in and once to trim out, and the second visit cannot happen until everything between them is finished and, where a permit applies, inspected. Two bathrooms that look identical on paper can run very differently. Swapping a tub for a tub in the same footprint is a short job. Converting that tub to a curbless shower moves the drain toward the middle of the floor, which on a slab foundation means cutting concrete, and that one decision adds slab work, a rough inspection and a full waterproofing and testing cycle. Anyone who quotes a fixed number of weeks before looking at the plumbing is guessing.
Selections get locked before demolition day
- Fixtures on site and unboxed before anything comes out. Rough-in dimensions come off the actual valve body, tub and toilet rather than a catalog picture, and boxes get damaged in shipping. Finding that out on rough-in day stops the job cold.
- Tub or shower, decided for good. A tub drain sits at one end of the fixture; a shower drain usually sits near the middle. That choice decides whether the slab gets cut.
- Tile chosen, and not only the look. Large-format tile demands a flatter substrate, a mosaic shower floor means far more grout joints to clean, and tile thickness plus mortar sets the finished floor height, which in turn sets the toilet flange and the door undercut.
- Vanity type. A floating vanity needs blocking and a drain roughed higher, often offset so the trap clears the drawer box. That is a decision made before the wall closes, not after.
- Niche and bench locations, marked on the studs. Both are framing, not accessories.
- Glass configuration. A frameless door needs solid backing at the hinges and a curb built dead level along its length. A framed slider forgives more.
- Exhaust fan model and duct route. Fan size and where the duct exits the building are framing decisions, not finish decisions.
Protection and demolition
Day one is protection, not demolition. Floor protection along the path from the door to the bathroom, plastic containment with a zippered opening at the doorway, HVAC returns in the work zone covered so dust does not tour the house through the duct system, and a fan pulling air out of the room instead of into the hallway. Tile and mortar demolition throws very fine silica dust, and it finds everything.
Then the room comes out to the studs and the subfloor in the wet areas. In a house built before 1978, assume the old paint may contain lead and take the trim and drywall down accordingly rather than dry-sanding it into the air. Demolition is also where the surprises live: rotted bottom plates behind the tub, a corroded closet flange, a two-inch bed of old mortar under the floor tile, cast iron drain lines in older Houston houses, joists notched half through by a plumber in 1974, and evidence of subterranean or Formosan termites in the wall behind a valve that has been weeping for years. Nobody can price what they cannot see, so expect the scope to be confirmed on the day the walls open.
Rough plumbing and electrical
Rough plumbing sets the drain first, because everything else is arranged around it. A shower needs a two-inch drain, a lavatory an inch and a half, a toilet three inches, and small drain lines are pitched about a quarter inch per foot toward the main. On a slab foundation, moving that drain means saw-cutting the concrete, trenching, replumbing and patching the slab back. Before any blade touches concrete, find out whether the slab is post-tensioned. Those slabs carry steel cables under tension, and the cables have to be located and mapped before a cut is laid out, because cutting one is a repair no homeowner wants to pay for. Supply lines are run and pressure tested, the valve body is set at a height that suits the household, commonly around forty-five inches above the finished floor with the head at seventy-eight or higher, and the tub or pan is set or dry-fitted so nothing downstream is guessed.
Electrical happens in the same open walls. Bathroom receptacles are GFCI protected and fed by at least one twenty-amp circuit, any fixture over the tub or in the shower has to be rated for that location, and lighting is planned around the mirror rather than only the ceiling. The exhaust fan is sized to the room, with roughly one CFM per square foot as the working rule for a bathroom under a hundred square feet and fifty CFM as a practical floor. Its duct has to terminate outside the building, through a roof jack or a wall cap with a damper, on the shortest run with the fewest elbows. Dumping humid air into an attic is common around here and it is a slow disaster: that moisture condenses on the underside of the roof deck, stains ceilings and rusts fasteners.
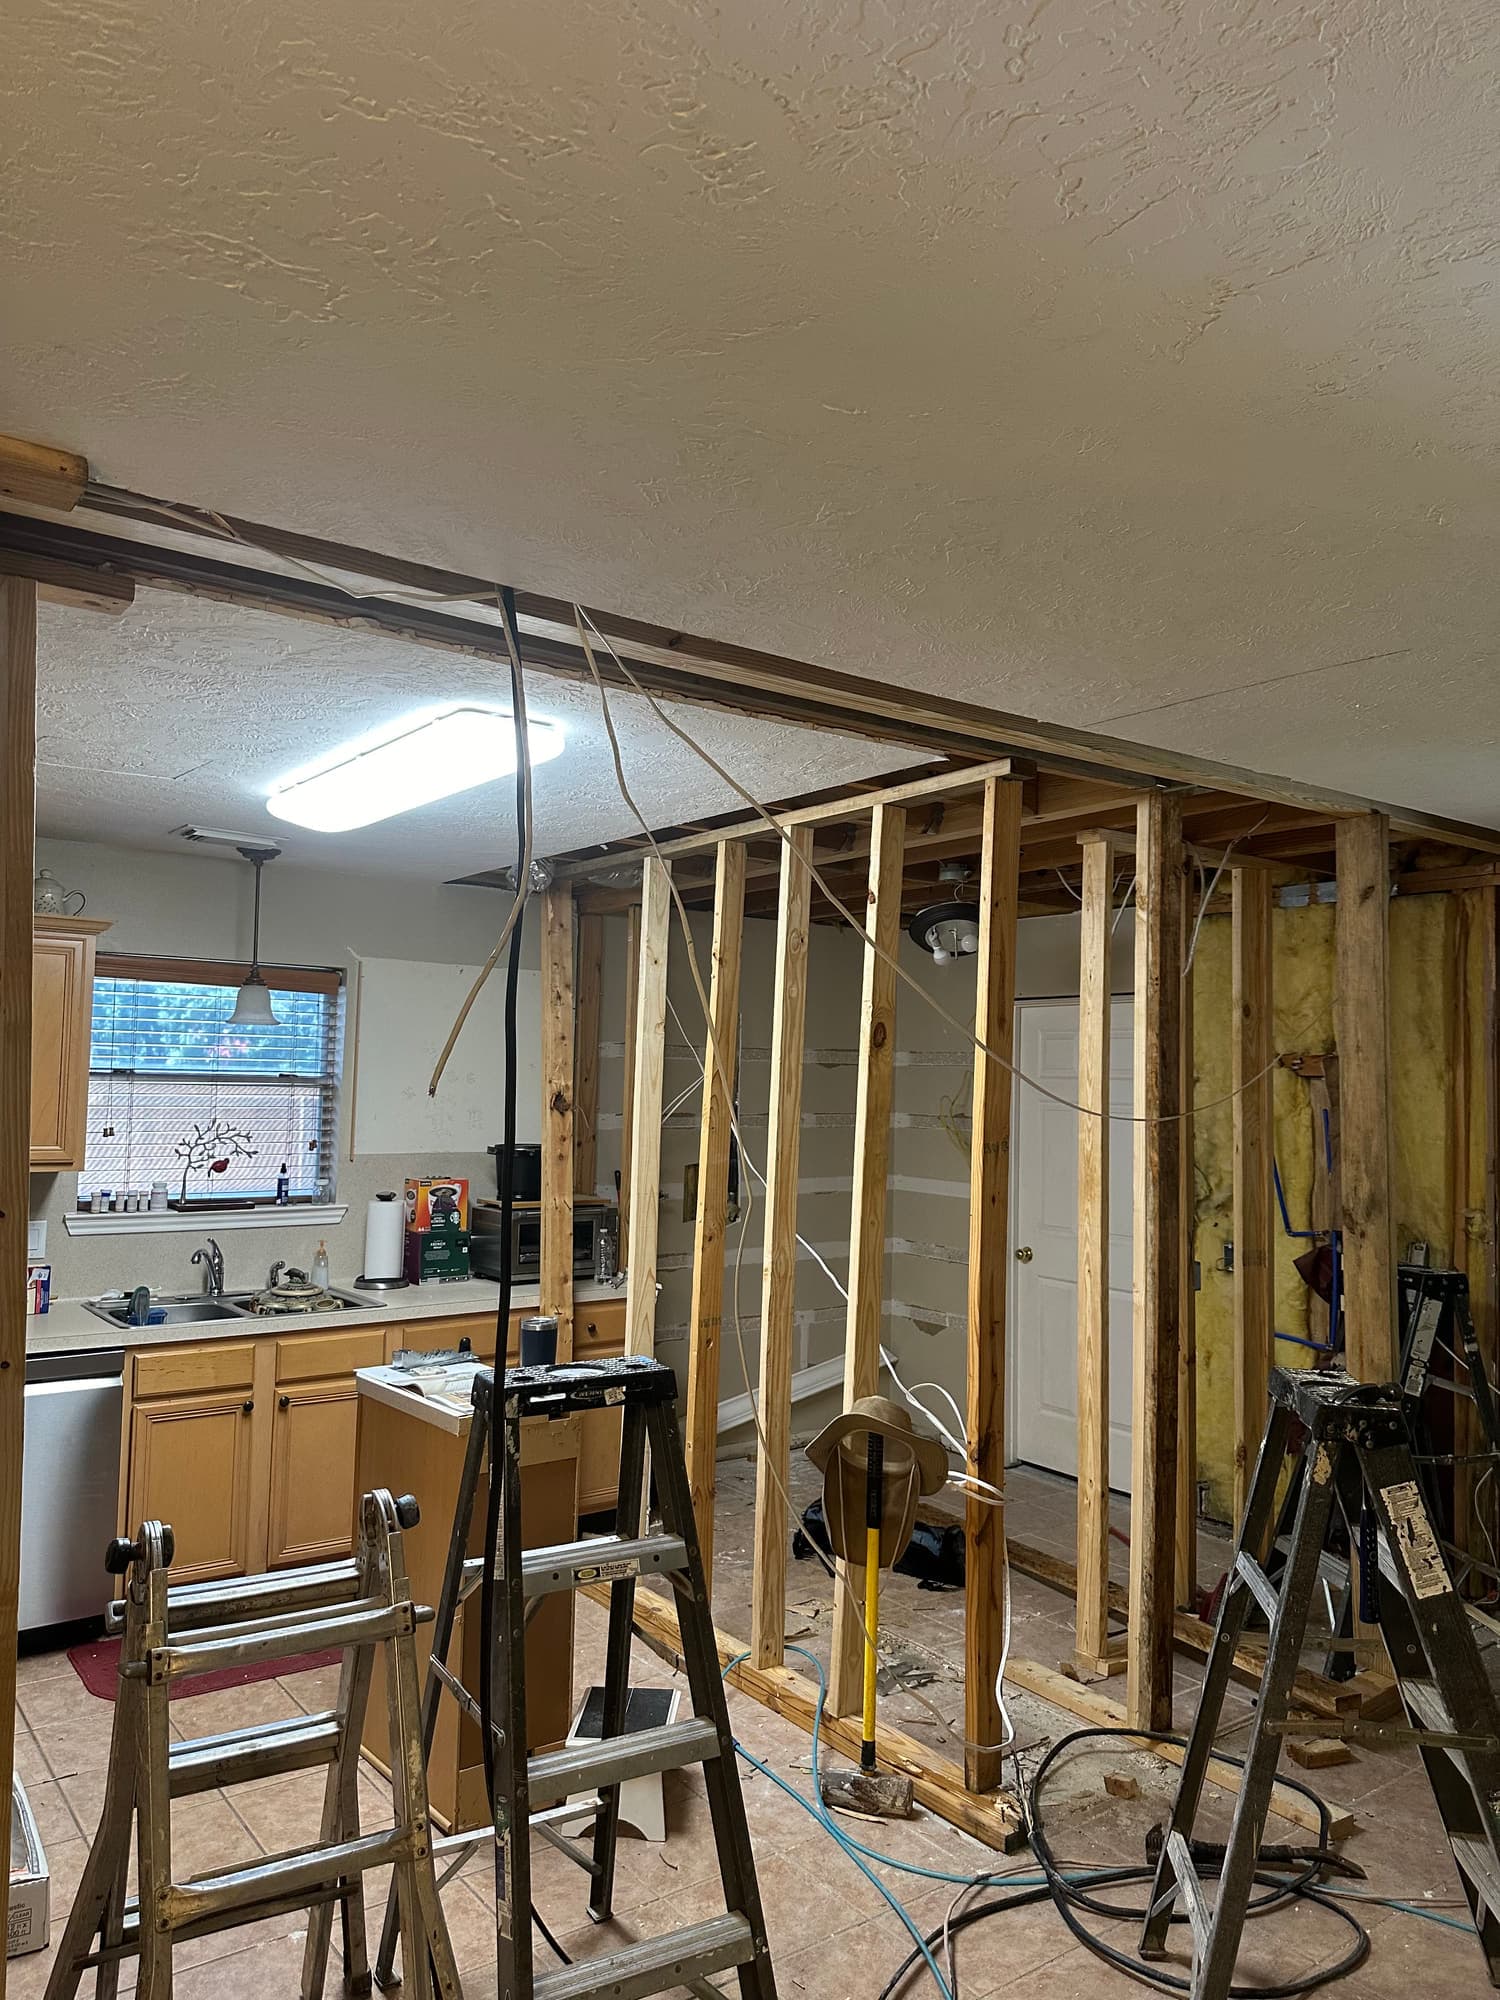
Blocking is the cheapest work on the whole job
- Grab bar backing. Flat two-by-eight or two-by-ten blocking let into the studs and run as a continuous band rather than a single point, on the wet wall and the back wall. Grab bars are commonly specified to carry a two hundred and fifty pound load, and drywall anchors do not. Bars usually land between thirty-three and thirty-six inches above the finished floor, so block wider than that and the bar can move later.
- Floating vanity support. Solid blocking or a full ledger across the studs, sized to carry the cabinet and everything set on it.
- Niche framing. Framed between studs and sized so the finished opening lands on grout joints, with the sill sloped about a quarter inch per foot so water leaves it. Keep it off an exterior wall where the layout allows.
- Bench framing. Built solid, with the top pitched back toward the shower floor at that same quarter inch per foot.
- Glass hinge backing. A three-eighths inch frameless panel is heavy and it hangs from two or three points. Put wood behind them.
- Curb and threshold. Built, shimmed and checked dead level along its length before any waterproofing goes on, because nothing after this step can fix a curb that runs downhill.
- Accessory backing. Towel bars, a shower rod and the paper holder cost a scrap of two-by material now and a wall repair later.
Inspection, where a permit applies
Whether a bathroom pulls a permit depends on where the house sits and what is changing. Inside the city, the City of Houston runs its own permitting. In unincorporated Harris County, permits go through the county. Incorporated suburbs and the surrounding counties, including Fort Bend, Montgomery, Brazoria, Waller and Galveston, each run their own offices with their own submittal requirements. As a rule of thumb, relocating drains or supply lines, adding or moving circuits, and altering structure are what trigger a permit, while replacing a vanity or a toilet in the same place generally does not. Where a permit applies, the rough inspection happens after plumbing, electrical and framing are complete and before anything is covered, which makes it a hard stop: the walls stay open until it passes, on someone else's calendar rather than the crew's. A final inspection follows trim-out. Houston has no conventional zoning, so land use is governed largely by deed restrictions and HOA covenants. Interior bathroom work rarely triggers that review, but anything that changes the outside of the house, a new roof vent included, is worth checking against the covenants first.
Waterproofing: the step the rest of the job waits on
Tile is not waterproof and grout never was. The assembly behind them is what keeps water out of the framing, and a shower that fails almost never fails at the tile. Three systems are in common use: a traditional mortar bed with a sheet pan liner and a clamping drain with weep holes; a bonded sheet membrane over a pre-sloped base, using that manufacturer's own bonding-flange drain; and a liquid-applied membrane rolled or troweled over backer board. Each one is a system, not a product. The drain, the corners, the seam tape, the bonding mortar and the fasteners all belong to it. Mixing a bonding-flange drain with a clamping liner, or one maker's liquid over another maker's sheet, is exactly where failures start.
Pre-slope is the step that gets skipped, and it is not optional. In a traditional pan, water travels to the drain in two places: across the top of the tile, and along the top of the liner, because the mortar bed above the liner is porous and stays damp. If that liner is laid flat on the subfloor, the second layer of water has nowhere to go and simply sits there. So the base under the liner is sloped first, using a dry-pack deck mud of roughly five parts sand to one part portland cement, screeded from the perimeter down to the drain at a minimum of a quarter inch per foot. The liner follows that slope, the weep holes in the drain body are protected with pea gravel so they stay open, and the top mortar bed is floated at the same pitch. Bonded and liquid systems use a pre-sloped foam tray or a mud base shaped first. The principle is identical, with the drainage plane at the surface instead of buried.
Corners and the curb are where pans leak. On a liner, inside corners are folded rather than cut, and outside corners at the curb get a preformed dam corner. Nothing is ever fastened through the top or the inside face of a curb, because every staple there is a hole below the waterline; fasteners go on the outside face, near the top. Bonded systems use preformed inside and outside corners bedded in the manufacturer's mortar. Liquid systems get reinforcing fabric embedded in the first wet coat at every corner, every change of plane and around the drain flange. The membrane also has to climb. Carrying a liner several inches above the finished curb is the usual minimum, and running it higher costs almost nothing. Inside the shower, waterproof the full height of the walls rather than stopping above the head, and on a curbless pan carry the waterproofing well past the wet zone across the floor.
| Consideration | Bonded sheet membrane | Liquid-applied membrane |
|---|---|---|
| Thickness | Fixed by the product, so it is the same everywhere it lands | Entirely down to the applicator: two coats minimum, rolled in opposing directions, built to the wet film thickness the label specifies |
| Time before the pan can be tested | Ready once the mortar bonding it has cured, commonly a full day | Every coat has to dry through, and humid Gulf Coast air slows that considerably |
| Corners and changes of plane | Preformed inside and outside corners | Reinforcing fabric embedded in the first wet coat |
| Benches, niches and odd shapes | More cutting and more seams to seal | Follows any shape a brush or roller can reach |
| Typical failure mode | An unsealed seam, or a screw driven through it later | Pinholes and thin spots that look finished once dry |
| What to ask for | Seam tape, corners and drain from the same manufacturer | The product name, the number of coats, and a look at the film before it is covered |
Then the pan gets tested. A test plug goes in the drain, the pan is filled with water to about an inch below the top of the curb, the water line is marked with tape, and it sits for twenty-four hours. After a day, read the mark and look underneath: the ceiling below on a second floor, or the slab edge and the baseboards in the adjoining room on a slab. No drop and no damp means the pan is proven and the job moves. A drop means the leak gets found now, while finding it costs a morning.
Backer board, tile and the cure clock nobody sees
Wet-area walls get half-inch cement board over studs at sixteen inches on center, fastened roughly every eight inches, with an eighth-inch gap at panel joints and a gap above the pan, and seams taped with alkali-resistant mesh and thinset. Paper-faced drywall does not belong in a shower, and neither does the green board that often gets mistaken for waterproof. Foam backer panels are the other route, where the board is the membrane. Floors over a wood subfloor take quarter-inch cement board bedded in thinset and screwed down, or an uncoupling membrane. Over a slab, tile can bond straight to clean, flat concrete, but around Houston an uncoupling or crack-isolation membrane earns its cost, because the expansive clay under these slabs swells and shrinks with the seasons and a hairline slab crack telegraphs straight through bonded tile. Flatness matters more than most people expect: for tile with any edge fifteen inches or longer, the substrate should hold an eighth of an inch in ten feet and a sixteenth in two feet. Large tile does not bend, so patch or pour self-leveling compound before setting starts, not during.
Tile installation starts with layout rather than mortar. Dry-lay the field, center it, and decide where the cuts land so the slivers end up out of the sightline and the niche opening falls on grout joints. Anything large gets a large-and-heavy-tile mortar, a notch matched to the tile and sized to deliver full coverage rather than chosen by habit, and back-buttering, with target coverage around eighty percent in dry areas and ninety-five percent with no voids at the corners in wet ones. The only way to know what coverage you are getting is to pull a tile now and then and look at the back. Keep the offset on any tile fifteen inches or longer at a third or less, because large tile crowns slightly through the middle and a running bond at half turns that crown into lippage at every joint. Soft joints, meaning silicone rather than grout, go at every inside corner, every change of plane and at the perimeter; grout cracking in an inside corner is not a defect, it is grout doing what grout does when two planes move independently. Then the mortar has to cure before anyone grouts or walks the floor, commonly twenty-four to forty-eight hours and longer over an impervious membrane, because mortar sandwiched between tile and a waterproof layer can only give up its water in one direction.
- Unsanded grout for joints under an eighth of an inch, sanded above that. Modern high-performance cement grouts cover both and resist staining better than the old ones did.
- Epoxy grout buys stain and chemical resistance with no sealing, and costs a short working time, a higher material price and a finish that shows every bit of workmanship. Worth it on a mosaic shower floor, usually overkill on a large-format wall.
- Natural stone gets sealed before grouting, or the grout stains it permanently.
- Color-matched silicone in every soft joint, tooled rather than smeared, and the same where tile meets the tub or the pan.
- Cement grout wants time before it sees water, and a penetrating sealer wants the grout dry, which is longer still.
- Sealer is maintenance, not waterproofing. It makes grout easier to clean and gets reapplied when water stops beading on the joints. It does not replace the membrane, and no sealer has ever saved a pan that was built wrong.
Trim-out: plumbing, vanity, glass and paint
Trim-out is fast and fiddly. The toilet flange has to sit on top of the finished floor, level with it or a hair proud; tile and mortar commonly raise a floor half an inch to an inch, and a flange left buried gets an extension ring rather than a stack of wax rings, because stacked wax is behind a lot of slow leaks that surface as a soft floor two years later. Valve trim, showerhead, spout, faucets and supply stops go on, the vanity is set level and scribed to a wall that is never straight, and a floating vanity finally meets the blocking that went in weeks earlier. Shower glass is measured after the tile is set and grouted, never before, because the shop templates the real opening and tempered glass is cut, drilled and polished before it is tempered, so nothing about it can be adjusted on site. That fabrication window lands at the end, which is why a bathroom can look finished for days and still not be usable. Trim carpentry follows, base and casing cut to the walls as they actually are. Interior painting is last: prime the new drywall and every patch, caulk the trim before the finish coat, and use a sheen that survives moisture and scrubbing, which in practice means satin or semi-gloss on walls, semi-gloss on trim and doors, and a scrubbable finish rather than a chalky flat overhead. Run the new fan while you paint.
The waits nobody can compress
| What you are waiting on | Typical range | Why it cannot be shortened |
|---|---|---|
| Fixtures and tile delivered | Set by the supplier, and it belongs before demolition | Rough-in dimensions come off the actual valve, tub and drain |
| Rough inspection, where a permit applies | Whatever the jurisdiction's schedule allows | Walls, floor and ceiling stay open until it passes |
| Liquid membrane, between coats | Commonly a couple of hours per coat, longer in humid weather | Each coat has to dry through to reach its film thickness |
| Flood test on the pan | Twenty-four hours of standing water | It is the only proof the pan holds before tile covers it |
| Setting mortar before grout | Commonly twenty-four to forty-eight hours, longer over a membrane | Mortar over an impervious layer can only dry upward |
| Grout before the shower is used | Roughly three days is a common manufacturer minimum | Cement grout gains strength slowly and stains while green |
| Sealer after grout | The grout has to be dry, often several days | Sealing damp grout traps the moisture under it |
| Shower glass, measure to install | Whatever the glass shop's fabrication takes | Glass is templated after tile and cannot be trimmed after tempering |
| Stone vanity top | Templated after the cabinet is set and level | The top is cut to the cabinet in place, not to the drawing |